How to Install a Septic Tank?

Category

Blog

Date

October 17, 2024

Author

Marco

how-to-install-a-septic-tank

Table of Contents

Do you require the services of a septic tank system, such as replacing a worn-out or outdated system or installing a new system entirely? Knowing the steps and factors that go with the process is important for anyone planning to install a septic tank as a home project or hire a professional contractor.

The Importance of Septic Tank

Septic tanks are essential for managing wastewater and preventing groundwater pollution. Unlike centralised water treatment, which relies on chemicals, septic systems use only bacteria and soil for water treatment. A septic tank is a sewage management system for handling waste generated within a specific area.

Checklist of Required Tools and Equipment

  • Excavator or backhoe or a mini excavator
  • Laser transit and grade pole
  • PVC Pipes and Fittings
  • PVC primer together with PVC glue
  • Saw or reciprocating saw
  • Hammer drill & bits
  • Hydraulic cement
  • Shovel
  • Cleaned stone or pebbles
  • Septic fabric
  • Septic tank made of concrete or plastic with risers
how-to-install-a-septic-tank

Step-by-Step Installation Guide

Step 1: Make Sure You Are Prepared

Before you start the installation process, it’s essential to prepare thoroughly:

  • Inspect the Tank: Inspect the tank for any damage that might have occurred during the transportation process after it has been delivered.
  • Check Invert Depths: The invert levels of the tank should closely correlate to the existing pipework.
  • Read the Manufacturer’s Guide: Adopt some of the new equipment’s installation procedures and health standards.
  • Obtain Necessary Approvals: Ensure you have the right approvals for building regulations and discharge consent from the environment agency.
  • Prepare Ventilation Arrangements: Make sure the system is aerated to avoid bad smells.
  • Site the Tank Appropriately: In this case, the following guidelines should be followed
  • Concerning the tank’s location: it should be located away from buildings and downwind.

Step 2: Dig the Hole

Dig a shallow pit the appropriate size for the tank and fill it with the same soil. Ensure the hole is deep enough to accommodate the drainage falls of a gravity system, which is 1 in 60/70 between the house and the tank and a maximum of 1 in 200 for the drainage field.

Step 3: Install the Base

To ensure the tank’s stability, create a solid base, often concrete. Follow the manufacturer’s recommendations for the type and thickness of the base.

Step 4: Sit the Tank

Place the tank carefully into the hole. Lift the tank carefully into the hole according to the manufacturer’s instructions and the lifting mechanism provided. Check whether the tank’s position is level, and whether the inlets and outlets are positioned correctly.

Step 5: Backfill the Hole

Stabilise the tank using the recommended backfill material, concrete, gravel, or sand, depending on the manufacturer’s recommendation. Always ensure that you do as they direct you because it will be very expensive to repair if you harm the tank.

Step 6: Install a Septic Drainage Field

Dig trenches for your drainage field properly, size them, and install them according to your design. For further details, check other sources on how to size and install a septic drainage field.

Step 7: Connect the Pipes

The tank’s inlet is the house’s Drainage Pipe, and its outlet is the Drainage Field. This step should not be challenging if the planning phases have been completed perfectly. If you doubt, do not proceed without consulting a plumber.

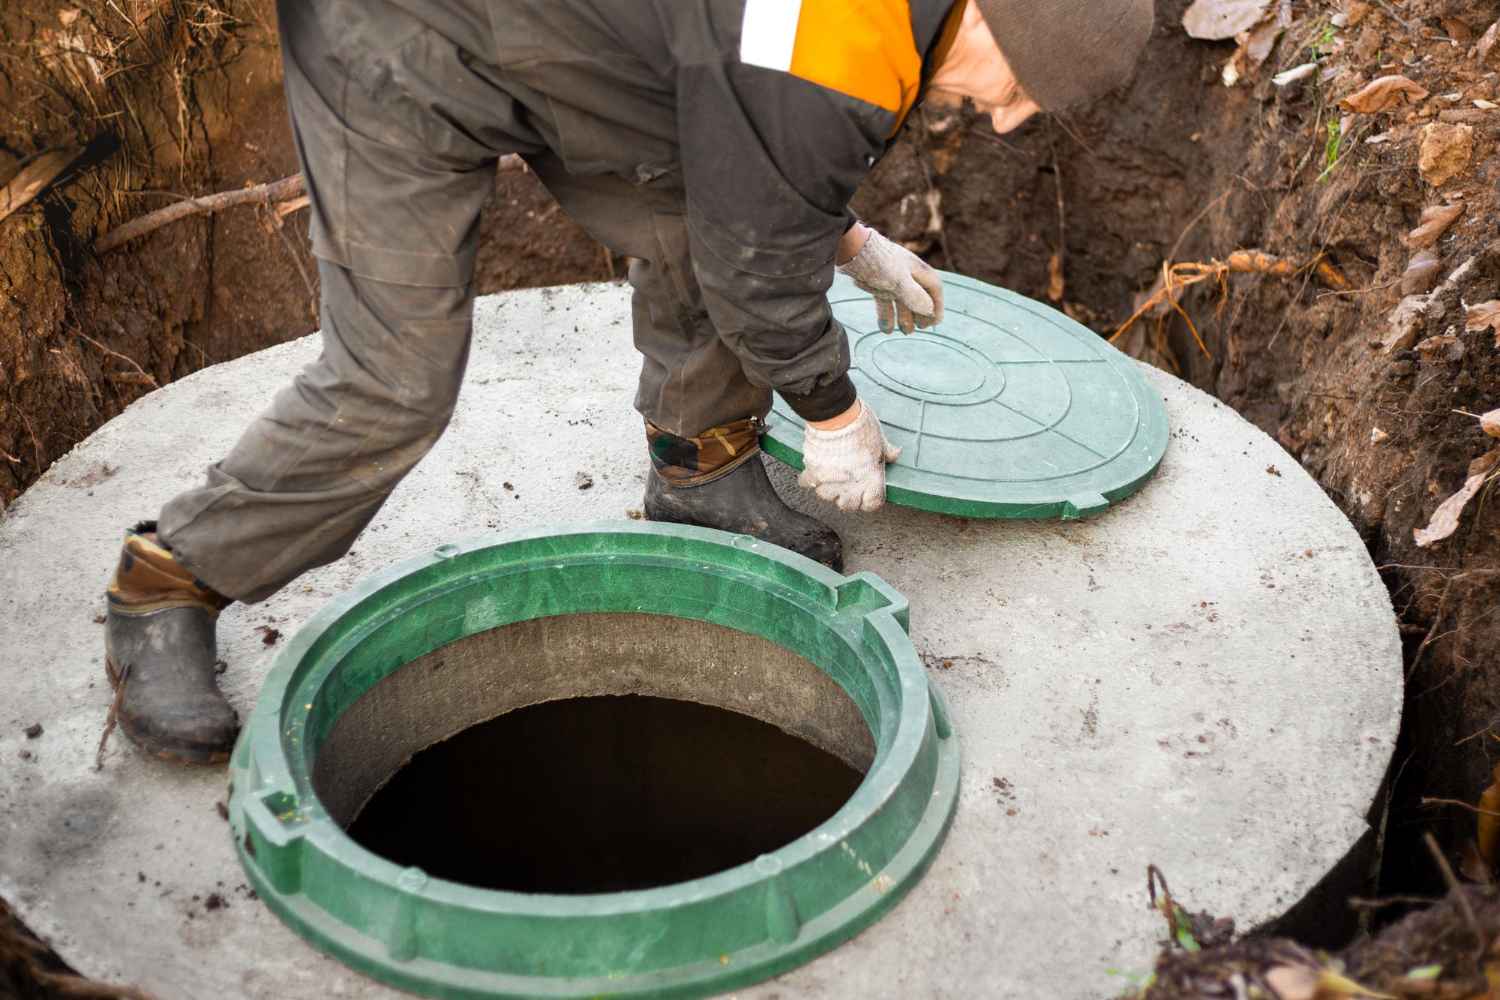
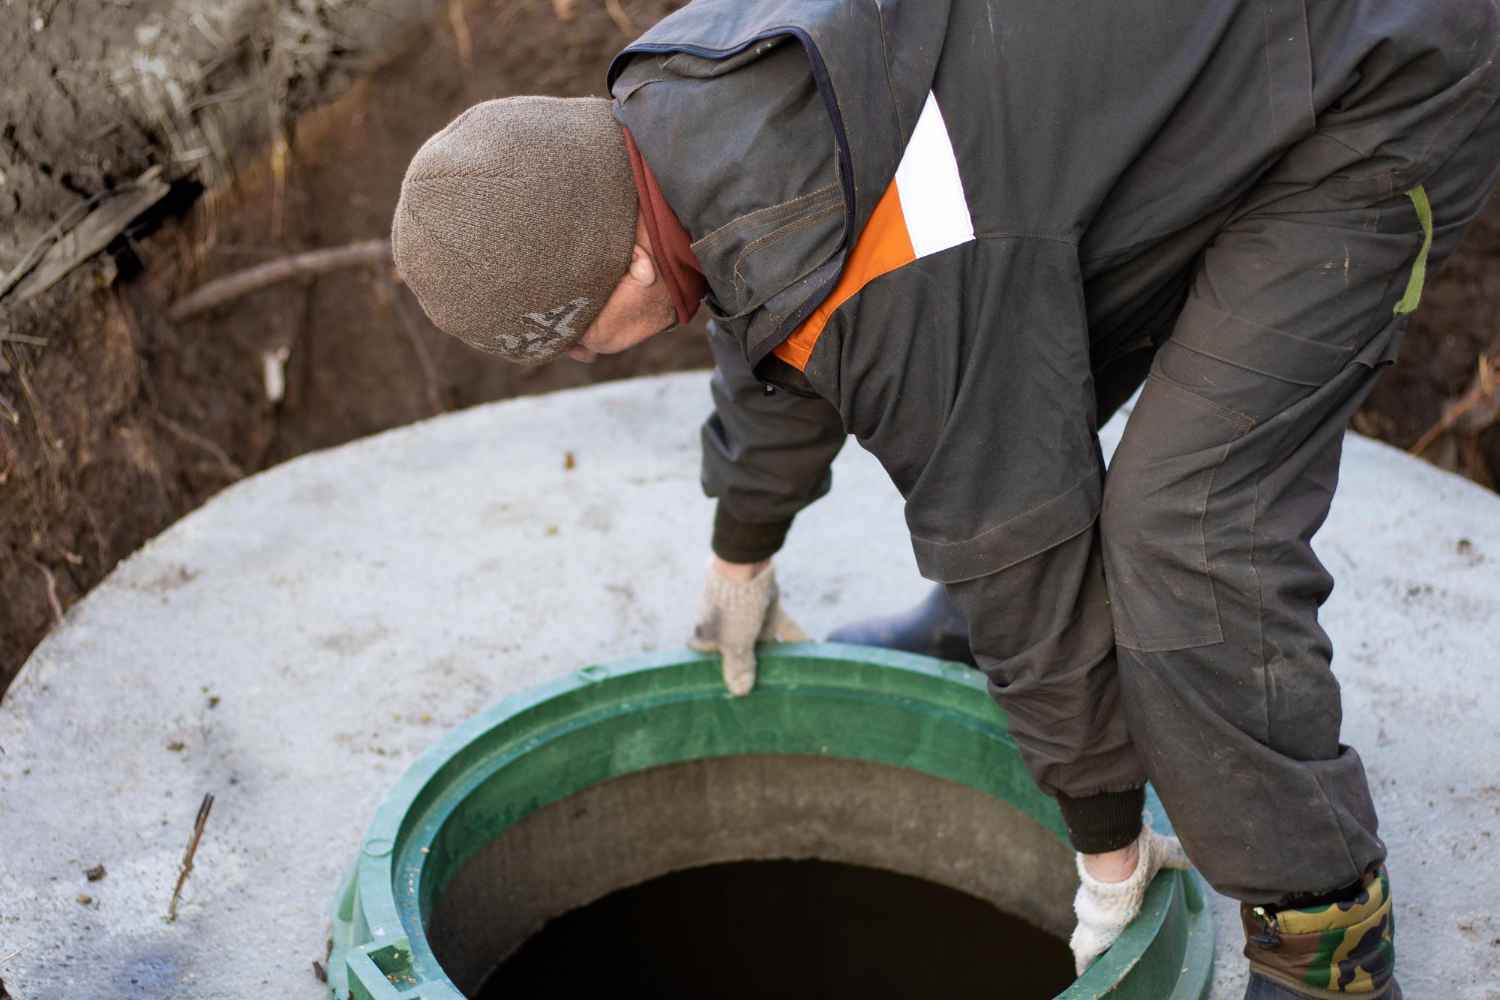
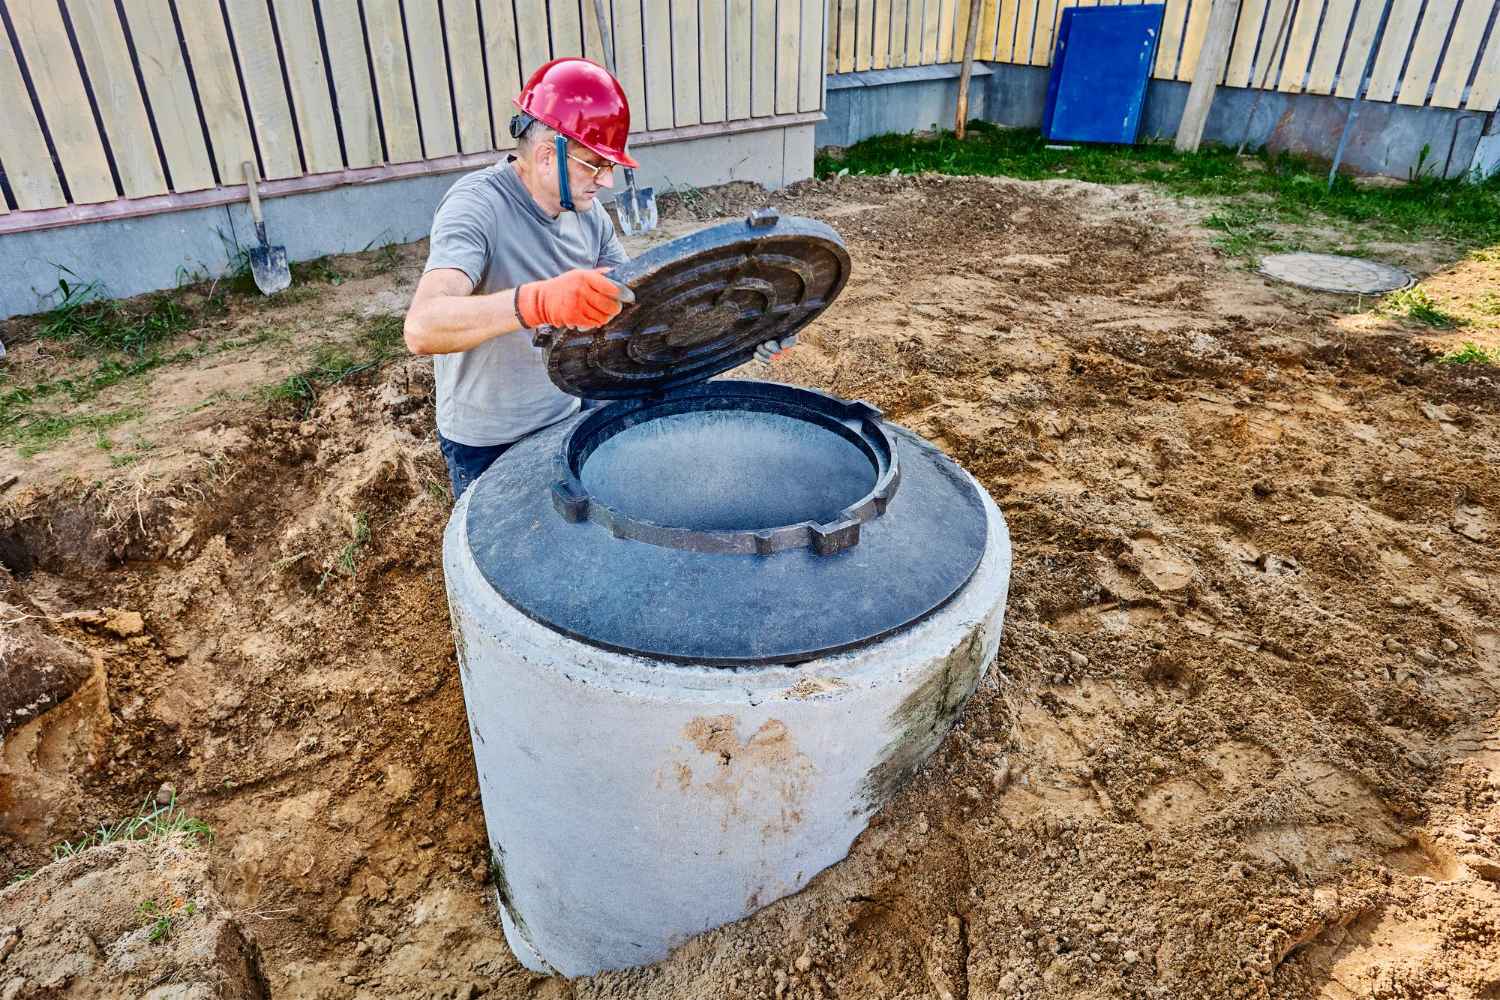
Step 8: Fit the Manhole Cover(s)

If the backfill design is inappropriate, replace the maintenance hole covers and position them in areas not subject to traffic. If this is the case, consult a structural engineer.

Types of Septic Systems

Gravity-Fed System

A standard type of system uses gravity, and wastewater is expected to flow from the tank to the drainage field. Pitch and slope considerations must be well thought out and planned to avoid compromising the house’s overall appeal.

Alternative Systems

Other systems, like electric pumps or ATUs, which use septic tanks together with leach fields, are a bit more complicated and may be required, especially where soils are poor or the water table is high. Many of these systems must be professionally installed since they are intricate and directly affect the environment.

What Not to Do When Installing a Septic Tank

  • Avoid Impact and Sharp Edges: Do not drop the tank or make it come in contact with sharp objects or hard surfaces.
  • Do Not Add Neck Extensions: Do not erect neck extensions or construct brick maintenance holes on the tank neck.
  • Avoid Excessive Depth: It is also important to avoid burying the tank below the ground as this can be very dangerous.
  • Avoid Unsupported Tanks: Never pressurise a tank or let the tank be filled or backfilled with others.
  • Avoid Traffic Pressure: The tank should not be located where it may be subject to high ground pressure or vehicular traffic.

Final Discussion

Installing a septic tank involves numerous steps and considerations, from initial planning and preparation to the final installation and connection of pipes.

While DIY installation may also be preferred to reduce expenses, installation procedures must meet regulatory requirements set by the law and environmental standards to avoid legal ramifications. Hiring a professional contractor can provide peace of mind and ensure the system’s reliability and safety.

Helpful Resources: