Category
Blog
Date
October 15, 2024
Author
Marco


Effective surface water management at home relies heavily on a robust drainage system. Without proper infrastructure, you may find yourself grappling with problematic flooding. A crucial component of this system is the rainwater gully. These vital pipes channel stormwater from areas like your garden into the main drainage system, handling everything from rainwater runoff to grey wastewater from appliances, such as sinks, washing machines, and dishwashers.
When you observe that your gullies are draining sluggishly or prone to overflowing, a blockage is likely the culprit. Read this blog to learn effective rainwater gully cleaning strategies, their construction, and the preventive maintenance practices to keep them functioning optimally.
Drainage gullies come in two primary types, each designed to handle different water management needs.
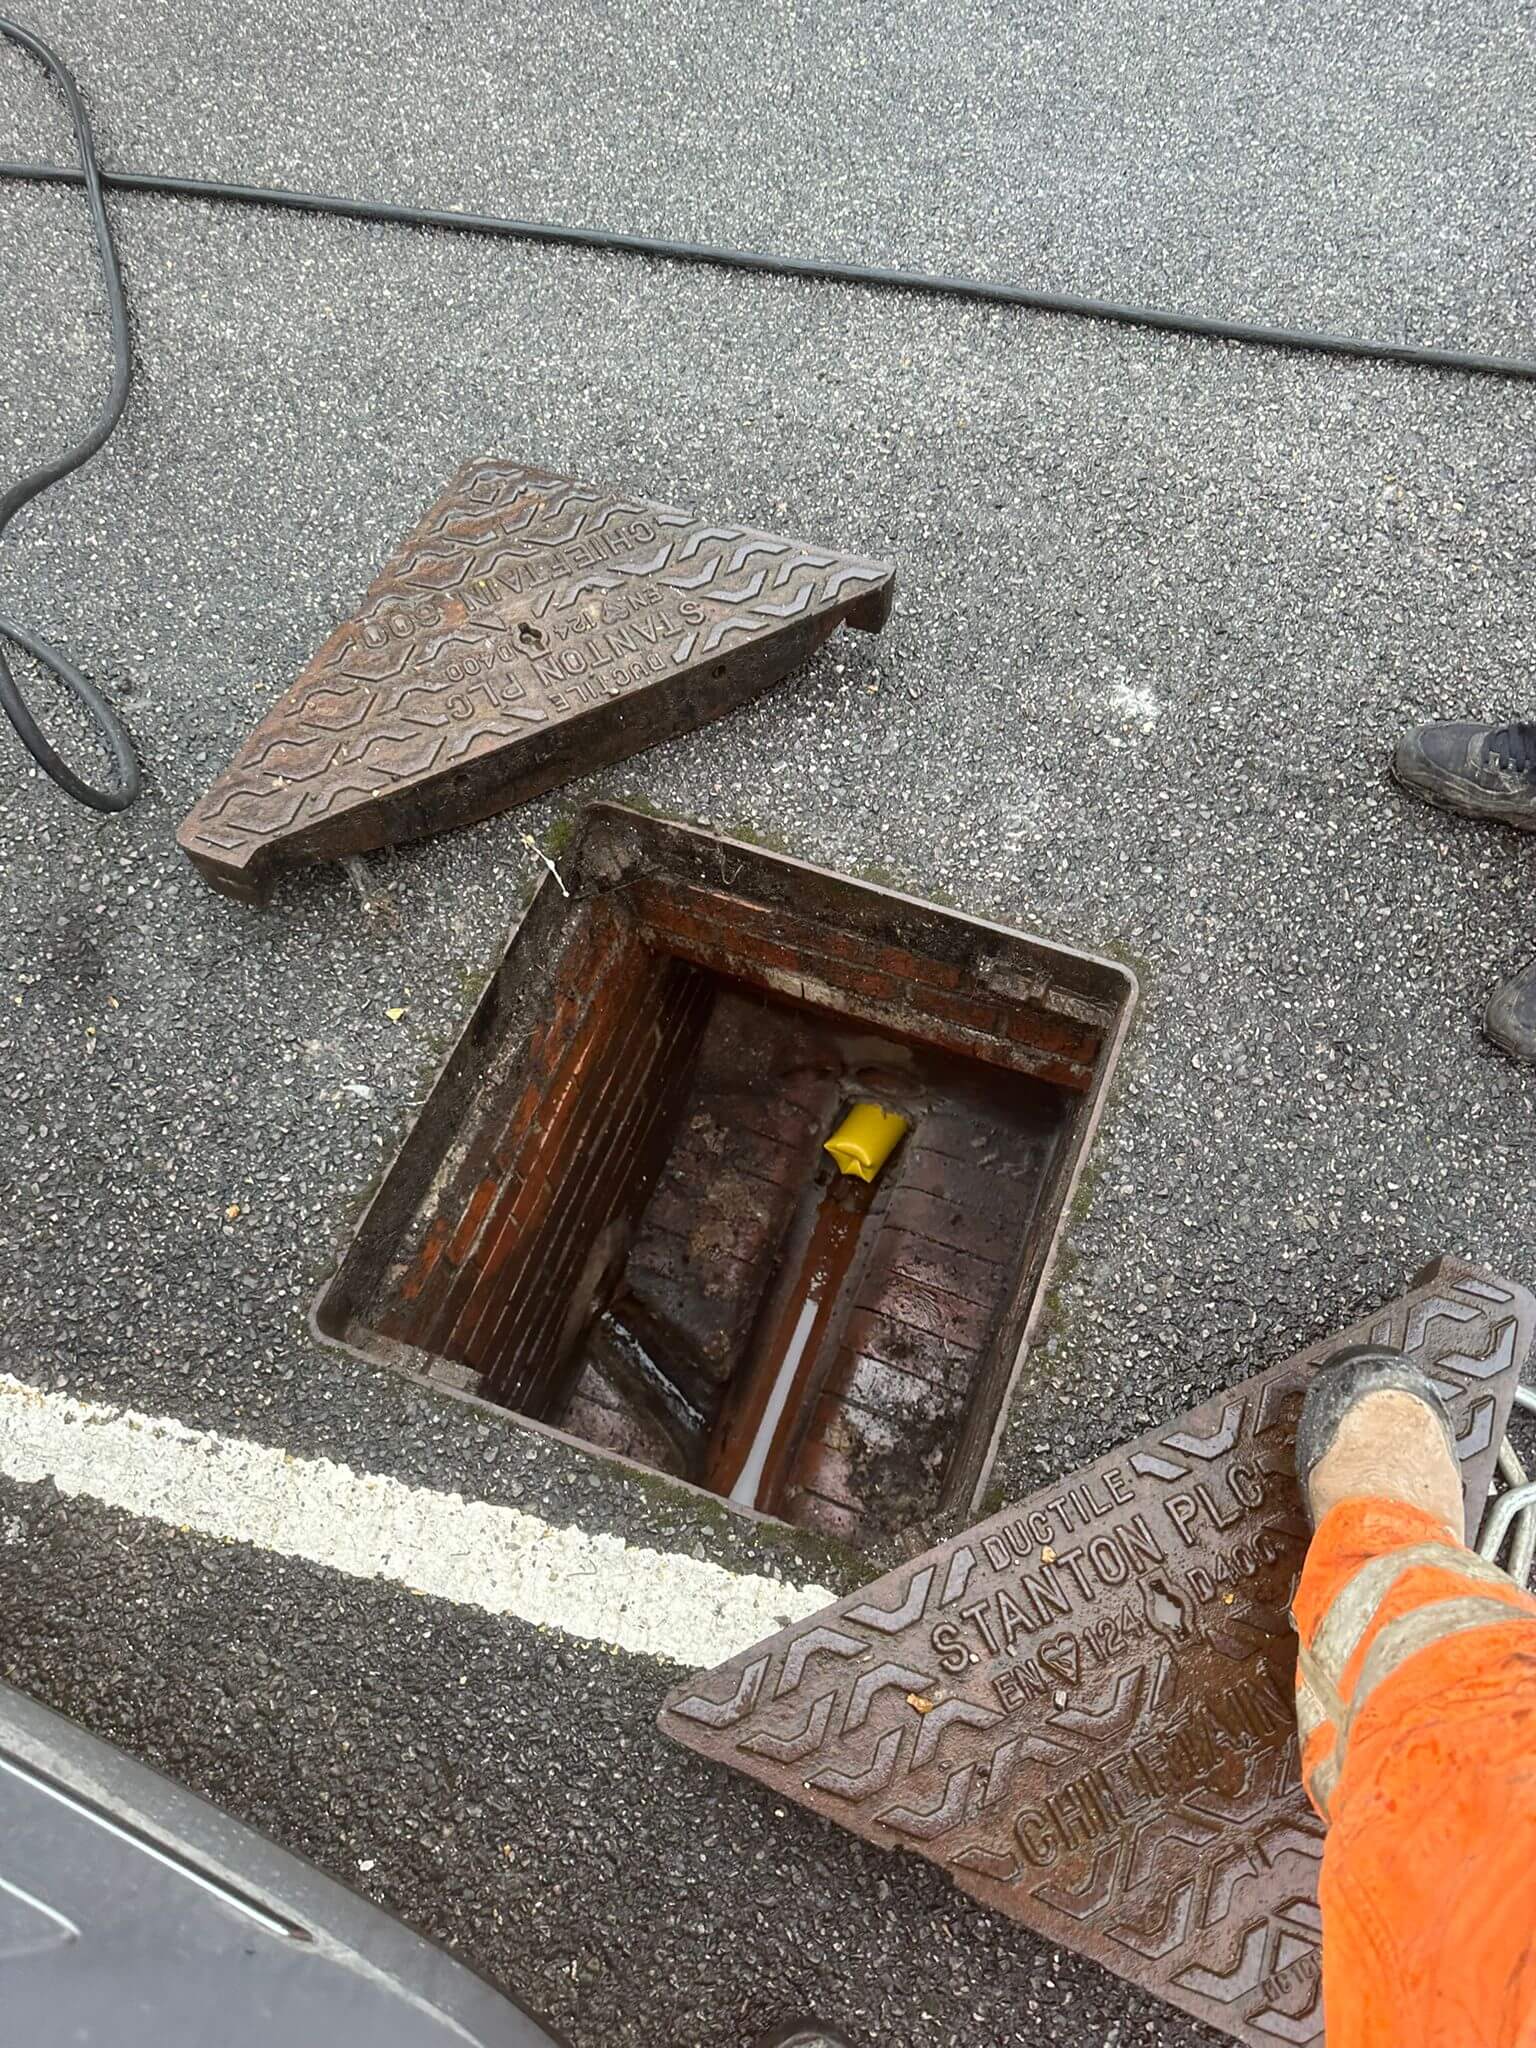
These are built to manage substantial volumes of surface water typically found on roads and highways. Given their demanding environment, road gullies are engineered to be more durable than their domestic counterparts. They are commonly constructed from concrete or high-density polyethene to endure the heavy traffic and rigorous conditions they face.
In contrast, domestic gullies are intended to manage water runoff from residential areas. They handle rainwater from downspouts and grey wastewater from household appliances. Typically installed outside, you’ll find these gullies beneath downspouts or where grey wastewater is discharged. Their design usually features a grating or grid to catch debris and a water trap to prevent unpleasant odours from escaping.
The P trap gully resembles the letter “P” in its shape and is often used to collect rainwater from downspouts when paired with a grated fitting known as a hopper. A notable challenge with P-trap gullies is their susceptibility to blockages that cannot be cleared using standard drain rods.
The bottle trap gully avoids this issue with a design that eliminates tight bends. Instead, it forces water through a central chamber separated from the gully walls, allowing for easier cleaning and direct access for drain rods if blockages occur. The removable sleeve simplifies debris removal and facilitates maintenance.
Understanding these types of gullies and their specific features can help you select the right one for your needs and ensure proper maintenance.
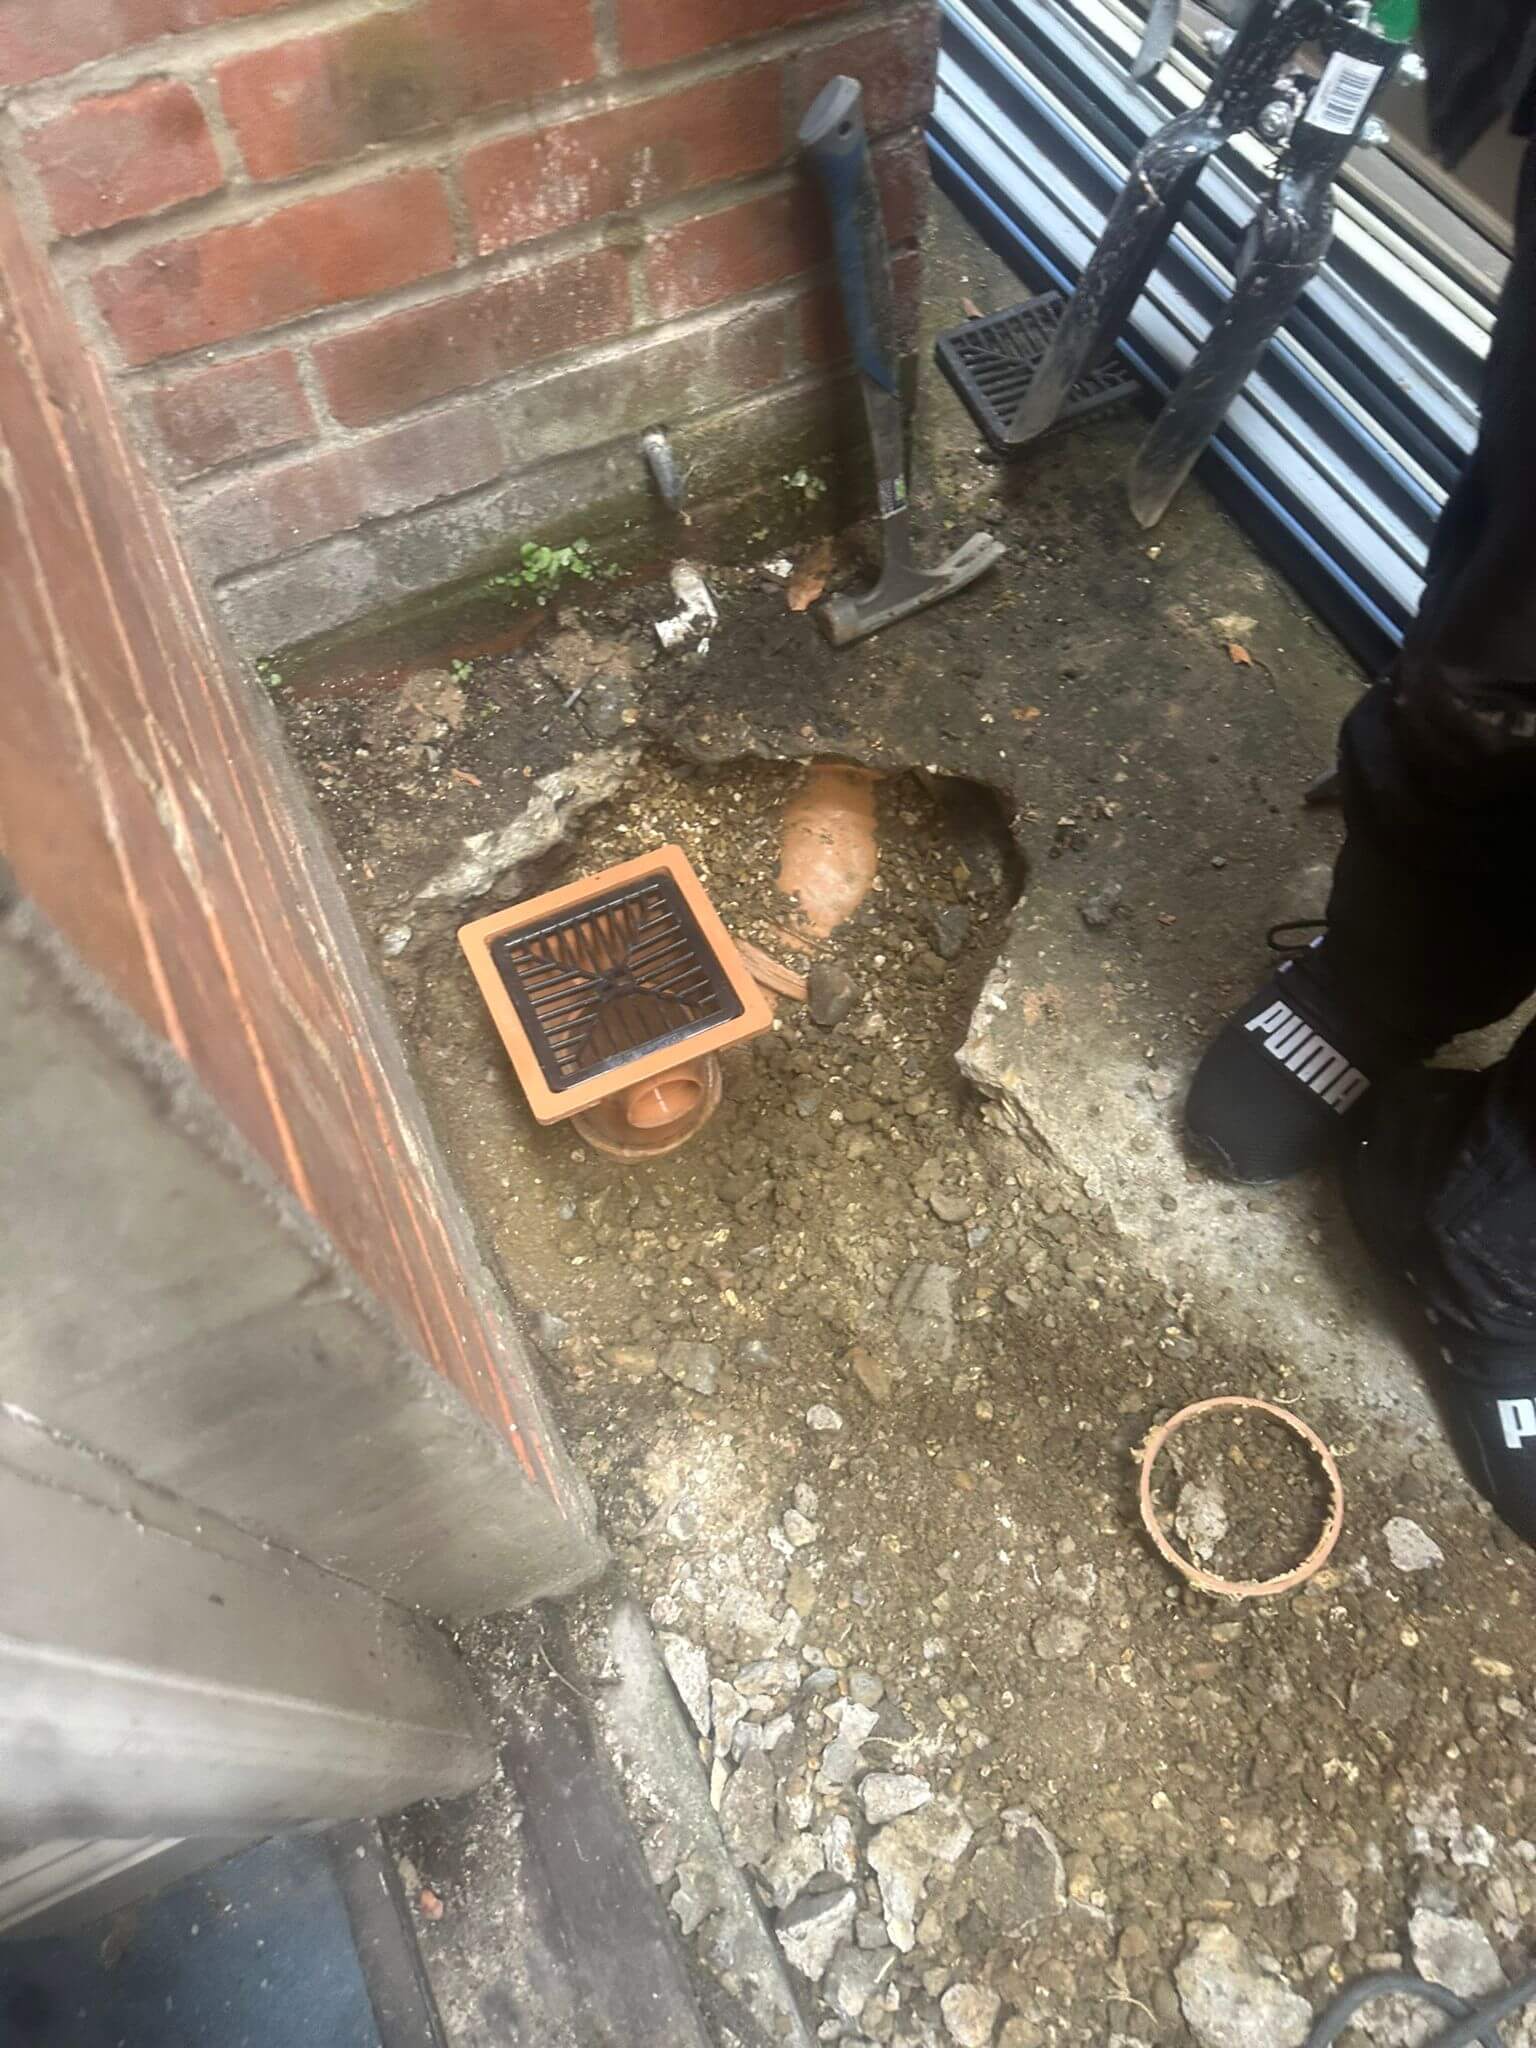
Drainage gullies, whether designed as P-traps or bottle traps, have several common features integral to their construction.
At the top of every drainage gully sits a grating or grid. This cover serves a crucial function by trapping larger debris, preventing it from entering the gully. The grate can be easily removed from cleaning, letting you clear out any finer particles that might have bypassed the grid and settled in the trap.
The hopper represents the upper section of a drainage gully. The hopper is built into the overall structure in a P-trap gully, while in a bottle trap gully, it is a distinct, removable part. This component is responsible for directing water flow into the gully pot.
Positioned at the bottom of the drainage gully, the gully pot is situated lower than the outlet. It functions as the collection point for debris and forms the base where the water trap is established. Any smaller debris that slips past the grate is gathered here.
Although both P-trap and bottle-trap gullies use a water trap to block odours and gases, their designs differ.
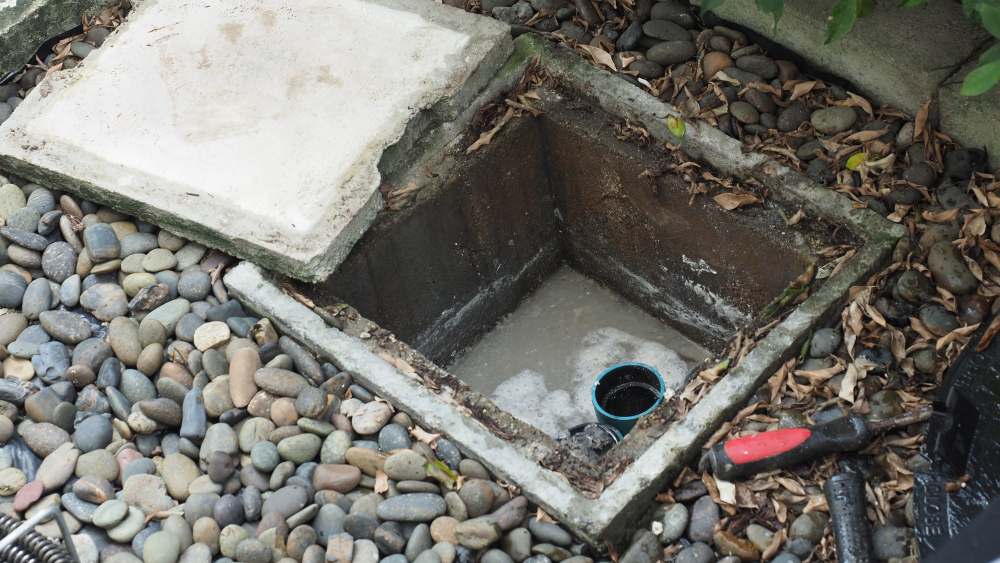
Equipping yourself with the right tools is essential to tackle the task of cleaning rainwater gullies efficiently. Proper equipment not only makes the job easier but also ensures your safety. Here’s what you’ll need:
Prepare for the Task: Equip yourself with protective glasses and rubber gloves to guard against muck and bacteria. Ensure no one uses the kitchen or bathroom appliances during the process to avoid water splashes.
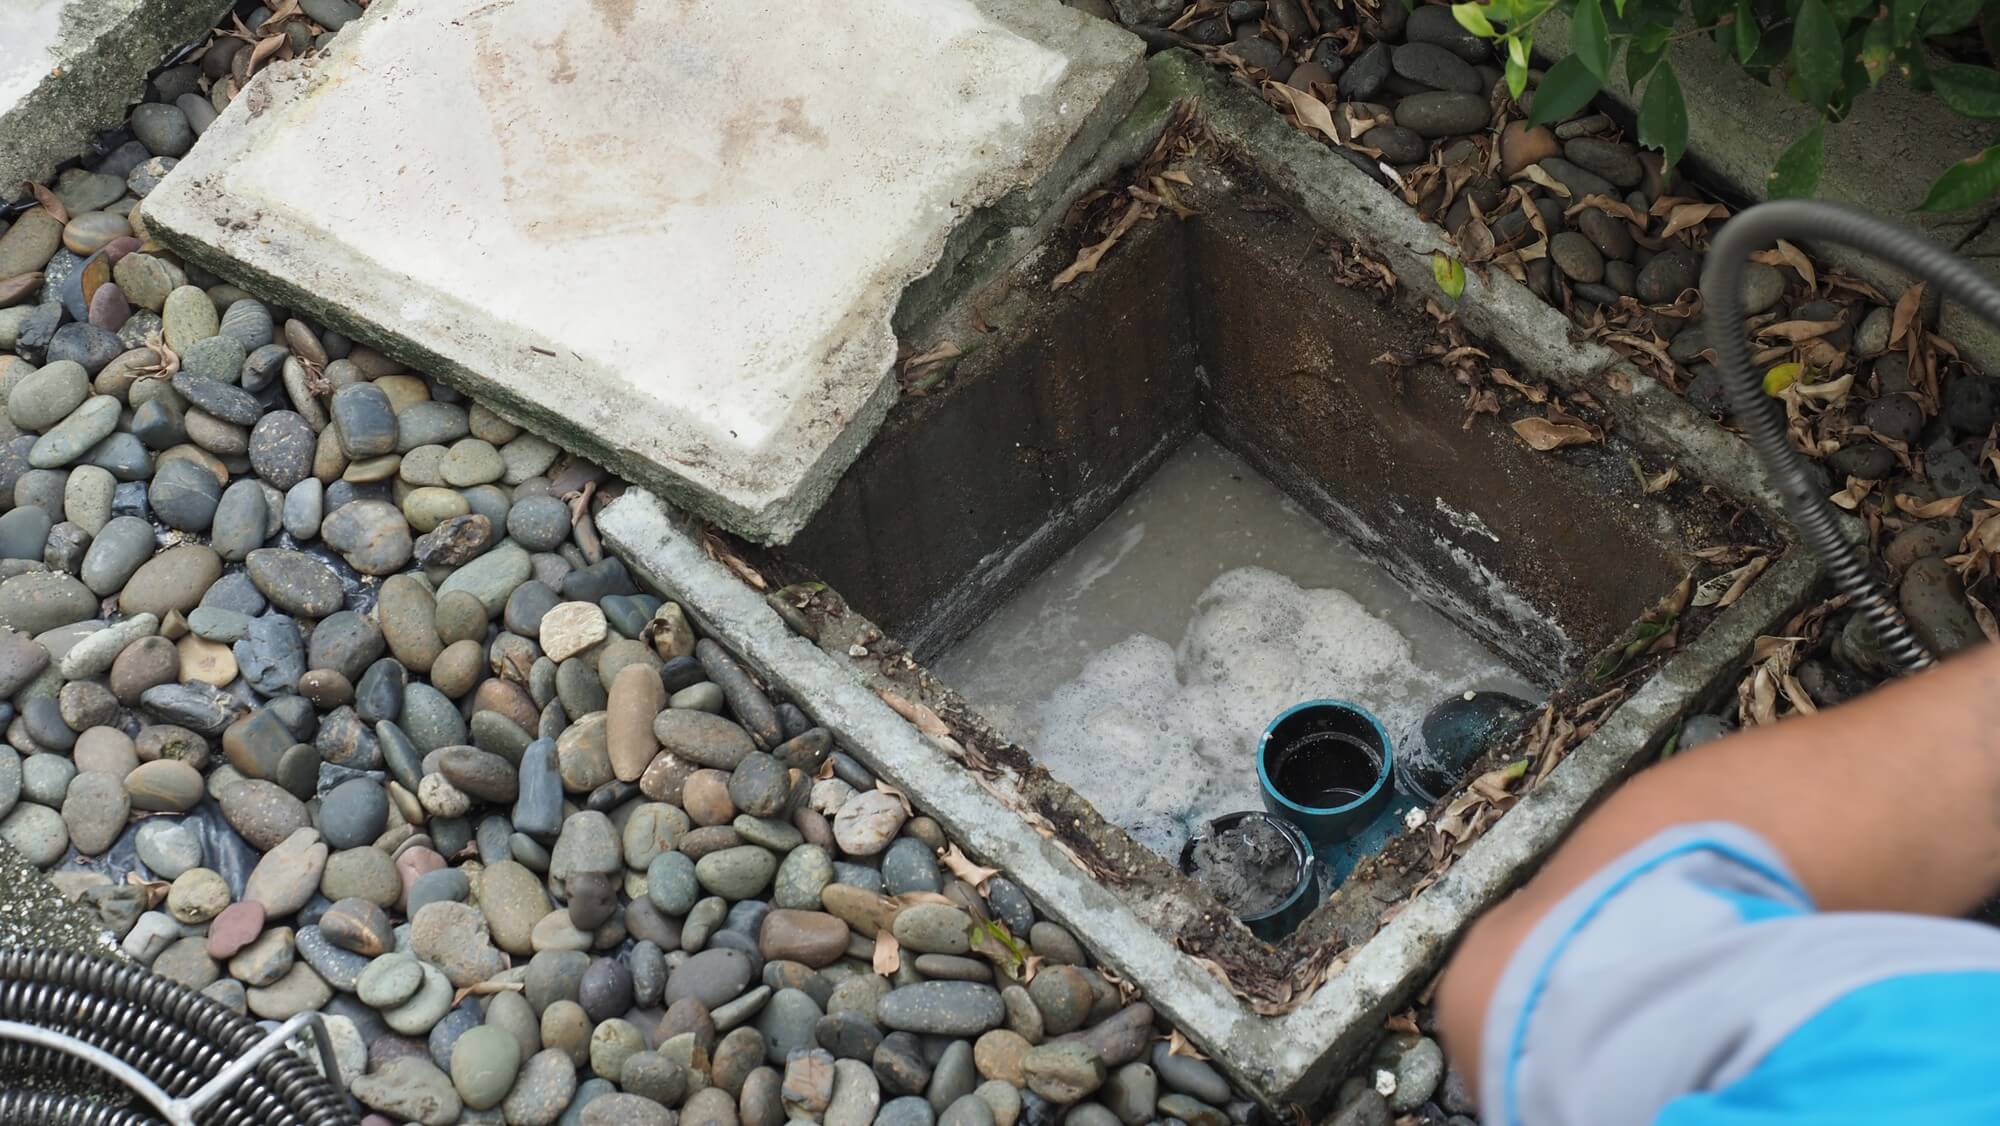
Locate and Clear the Gully: Find the gully, typically covered by a plastic or metal grate that traps debris like leaves and twigs. Remove visible debris from the top with your hands or gloves.
Remove the Gully Cover: Use a flathead screwdriver to pry off the cover, or pull it off using a handle if available. A string looped around the bars can help loosen the cover if you struggle. Keep your protective glasses on to shield against splashes.
Inspect and Clear Inside: Examine the gully interior for blockages. Use a trowel or your hands to remove twigs and leaves. Check the drainage by running water from the kitchen tap.
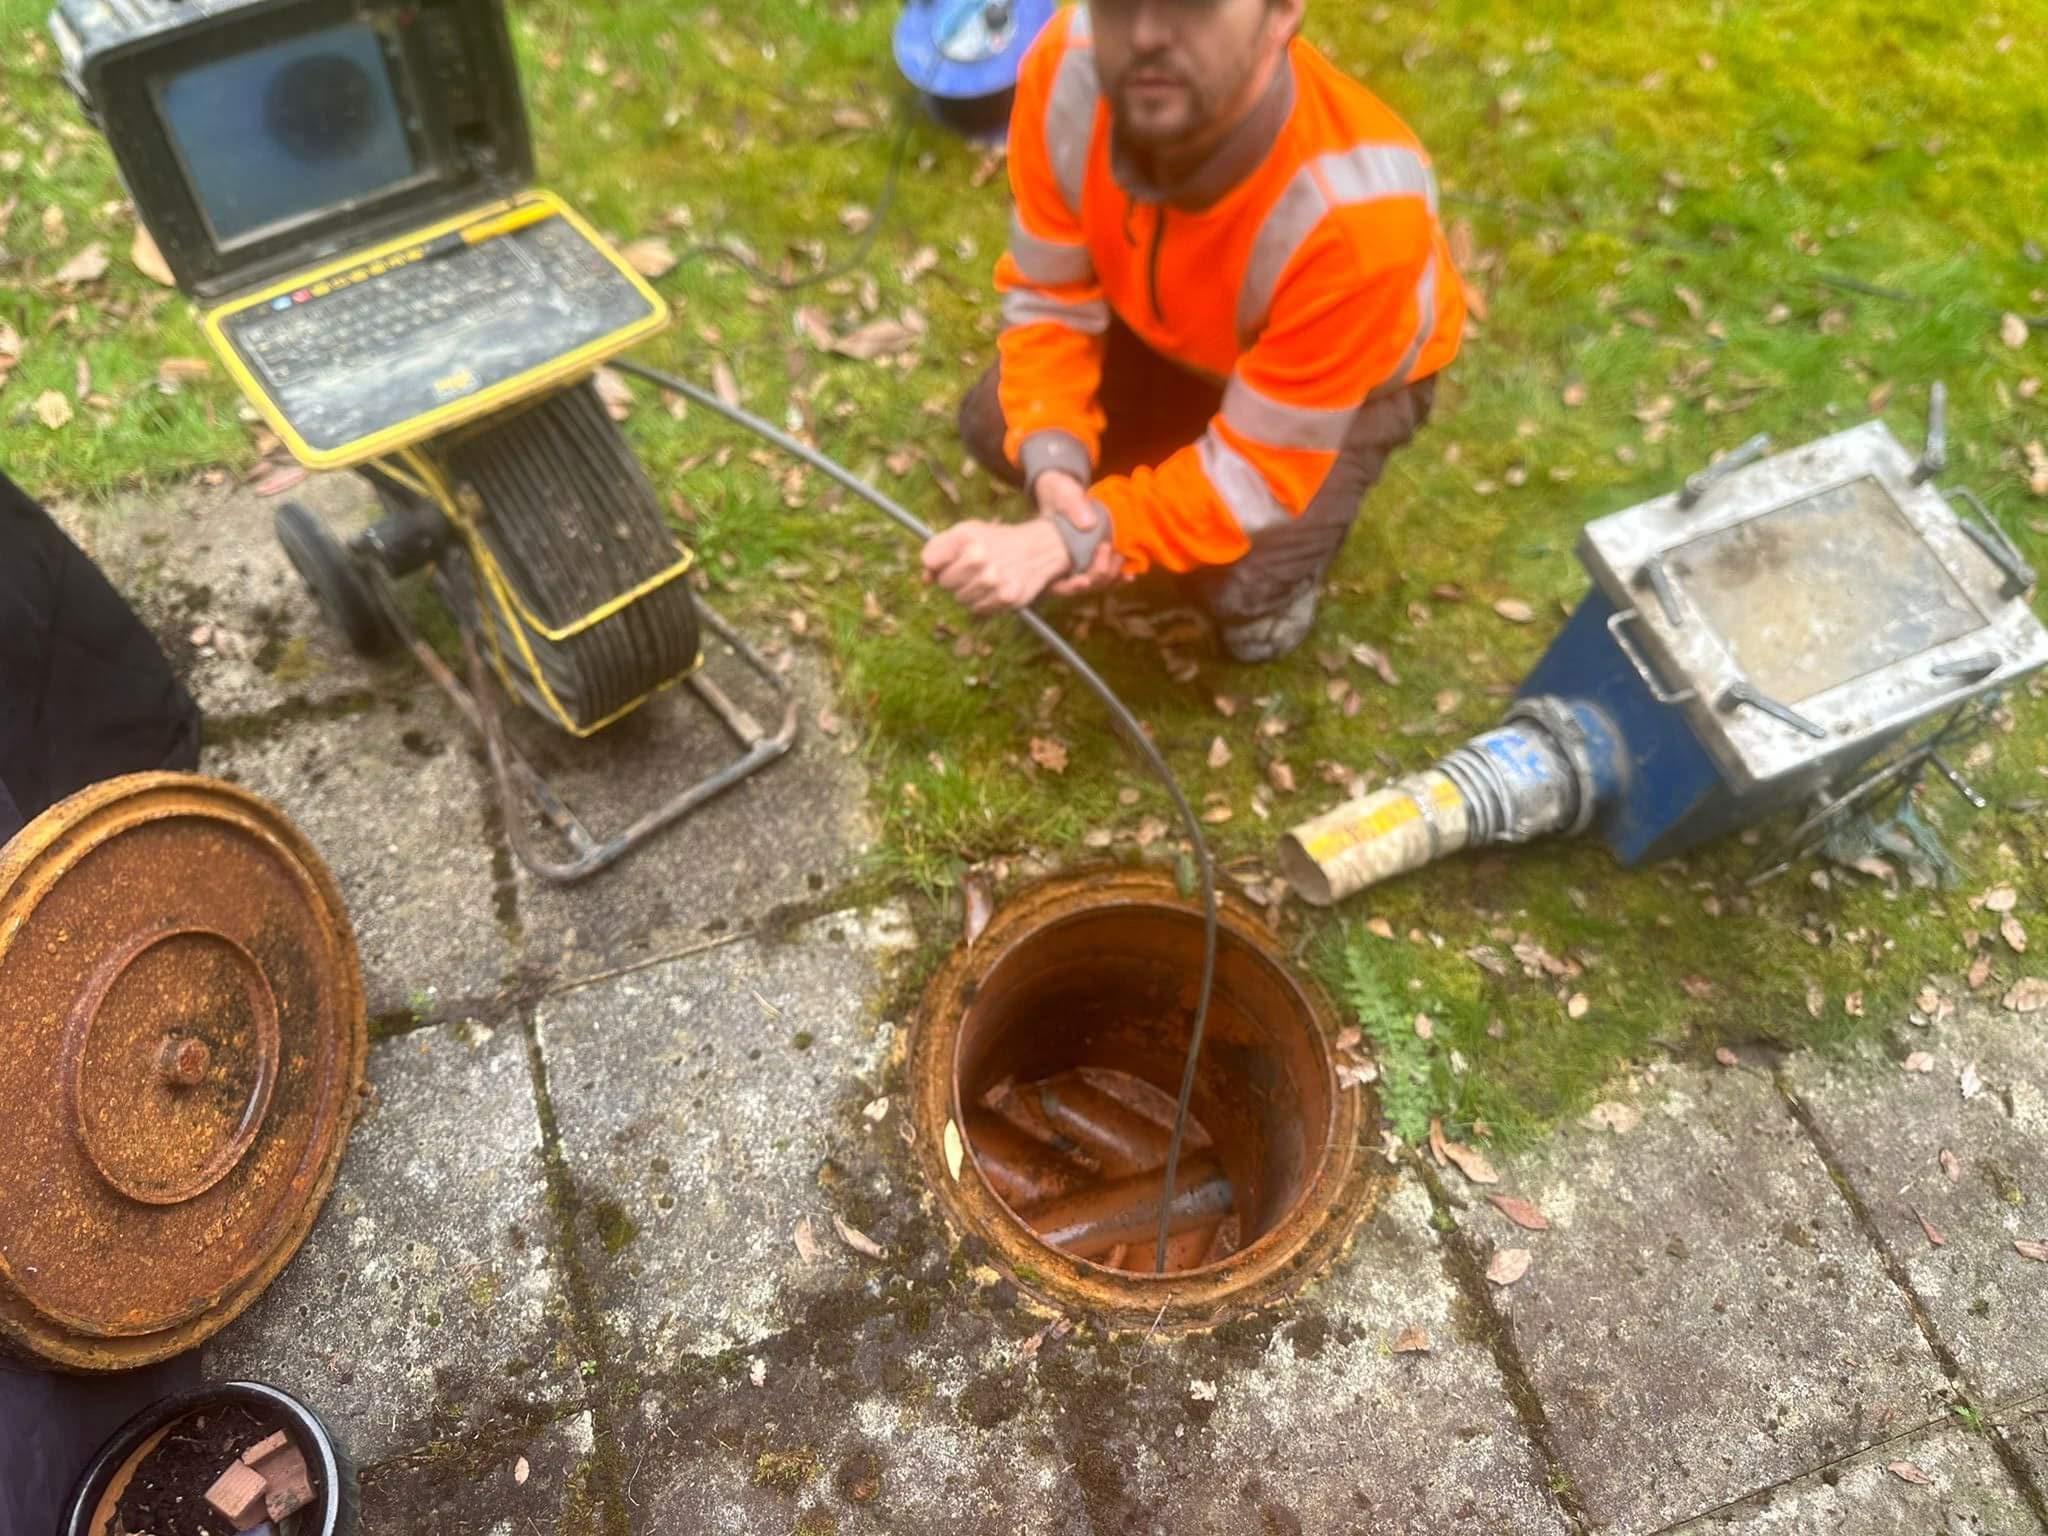
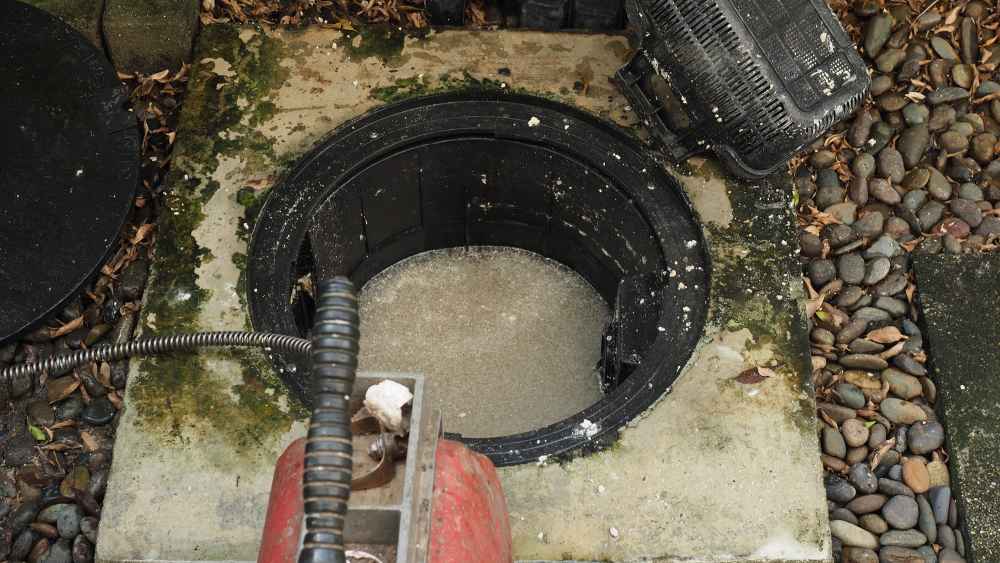
Use a Drain Rod: If blockages persist, use flexible drain rods to probe and clear the obstruction. Start with one rod and add more as needed. Gently break up the blockage without pushing it further down the drain. Avoid rotating the blockage counterclockwise to prevent damaging the pipe.
Rinse the Gully: Clear surrounding debris with a garden brush. Then, direct a hose into the gully for a few minutes to flush out the remaining blockages.
Apply Hot Water: Pour hot water from a bucket into the gully to dissolve grease and fat. Adding bleach or dish soap can enhance the cleaning effect.
Test and Reassemble: Run water from the taps to ensure proper drainage. Once satisfied, replace the gully cover securely.
To keep your gully from becoming clogged again, follow these key prevention strategies:
