Category
Blog
Date
February 26, 2024
Author
admin

Soil percolation refers to the ability of the ground to absorb water. It is considered a critical factor when installing a soakaway system for rainwater, sewage, or septic tanks. Soil percolation testing is performed to check the condition of the ground for absorbing water.
Regulations for soil percolation are deployed to ensure the efficiency of ground for the installation of soakaway systems. According to the regulations,
A soakaway works by allowing water to absorb through the ground naturally, reducing the pressure on drains and watercourses. It can be done by digging up a large hole in the ground and Install crates with voids in that hole.
These voids in crates will let the water pass through slowly and stop any debris. The passed water is absorbed by the ground, depending on the condition of the ground. The system needs to be installed in a way that it can withstand the load when it is covered up. Additionally, the size of the hole and the number of crates depends on the surface area of the ground it soaks water from or the rate of the usage of septic tanks it is attached with.
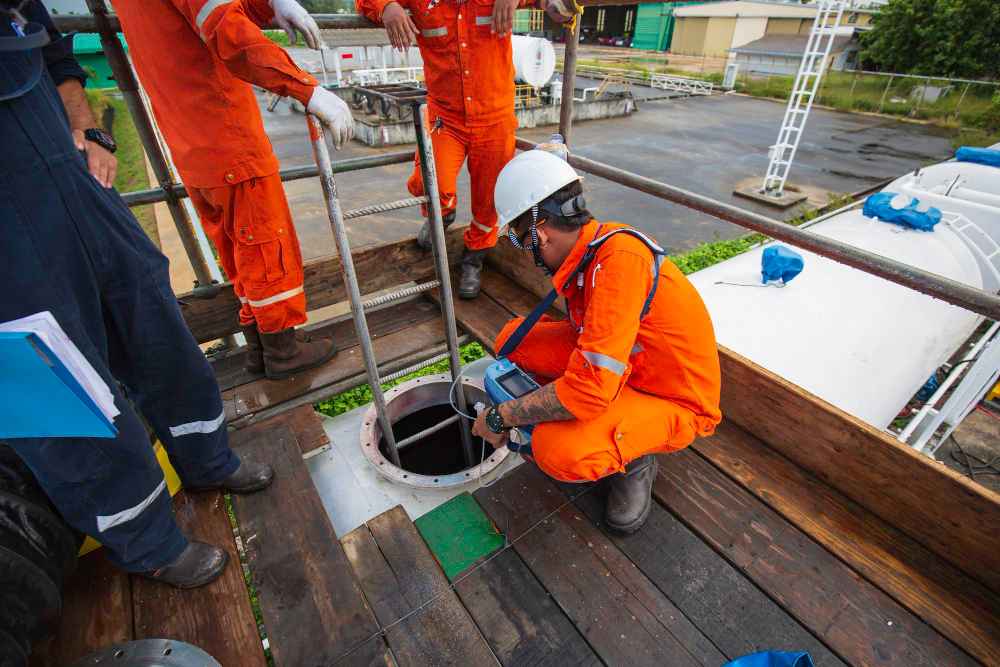
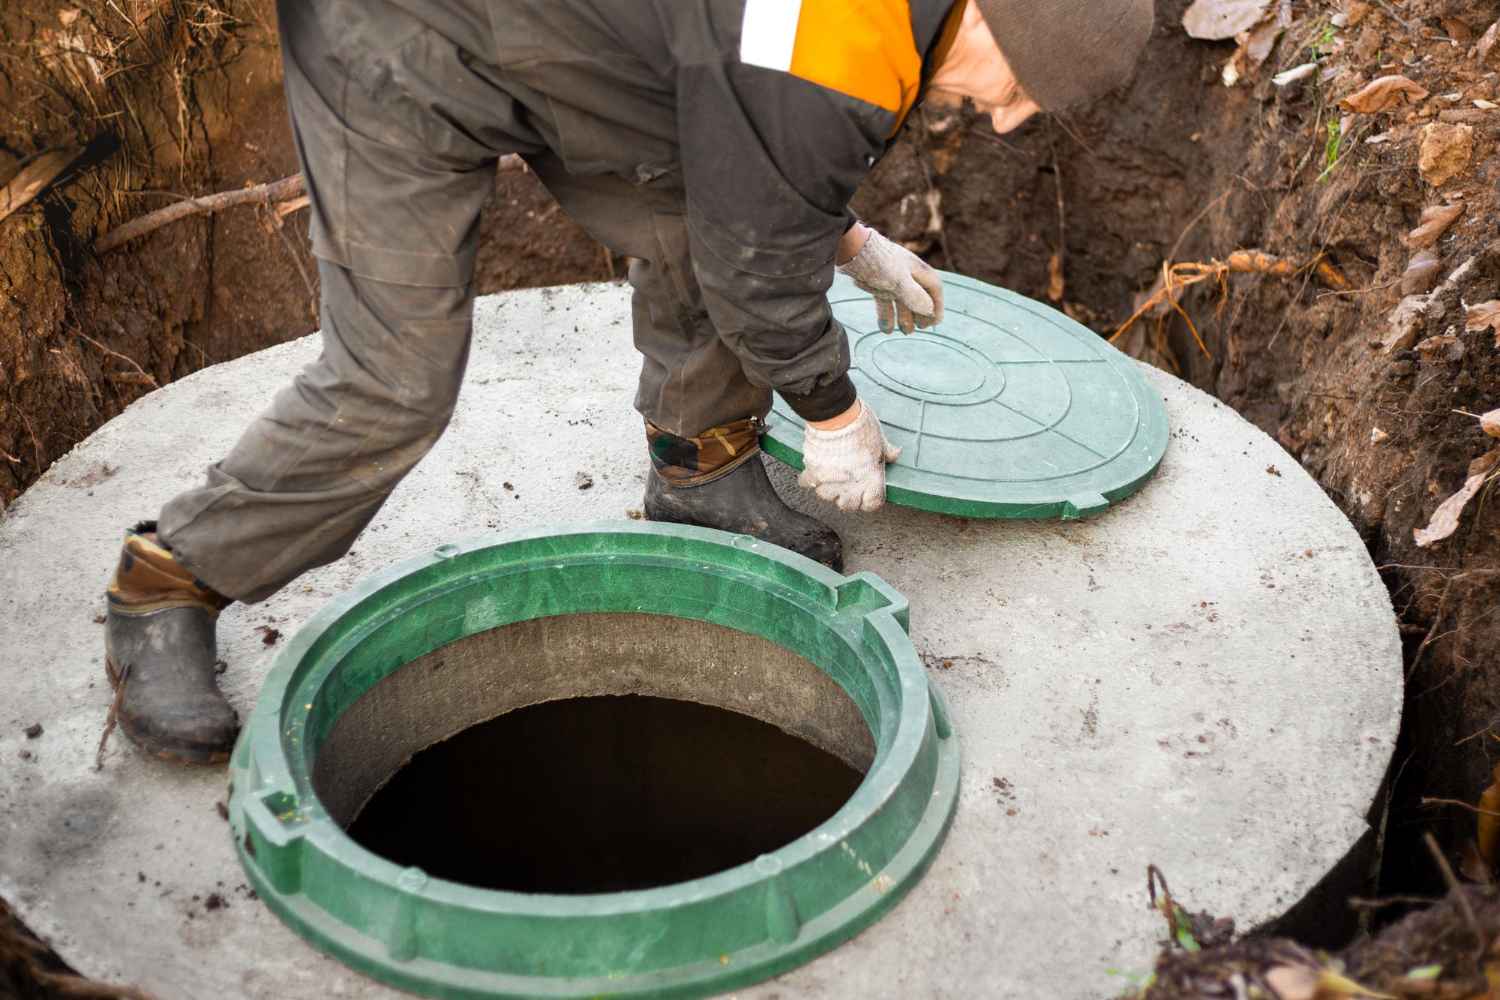
Percolation testing is performed when you are required to install a soakaway system for rainwater, sewage or septic tank. It measures the rate at which the ground absorbs water. The process of percolation testing is quite simple. You must dig a hole of a specific depth in the ground, fill it with water, and then note the time it takes to soak away in the ground. It will show the state of the ground and whether you should install a rainwater soakaway.
Water absorption depends on the soil type at the site, as clay soil is inefficient to soak up, while sandy soil is effective in taking up water. It is the last of three tests performed to analyse the state of the soil. The first two include
You can perform percolation testing by following the below steps.
Step 1: it is the preparation step where you have to prepare yourself for testing by procuring:
Step 2: Marking the areas for holes with the 0.3m width and 1m length. There are two minimum required pits to perform testing. The holes should be 2.5m away from any boundary, 5m from your building, and 5m from the road.
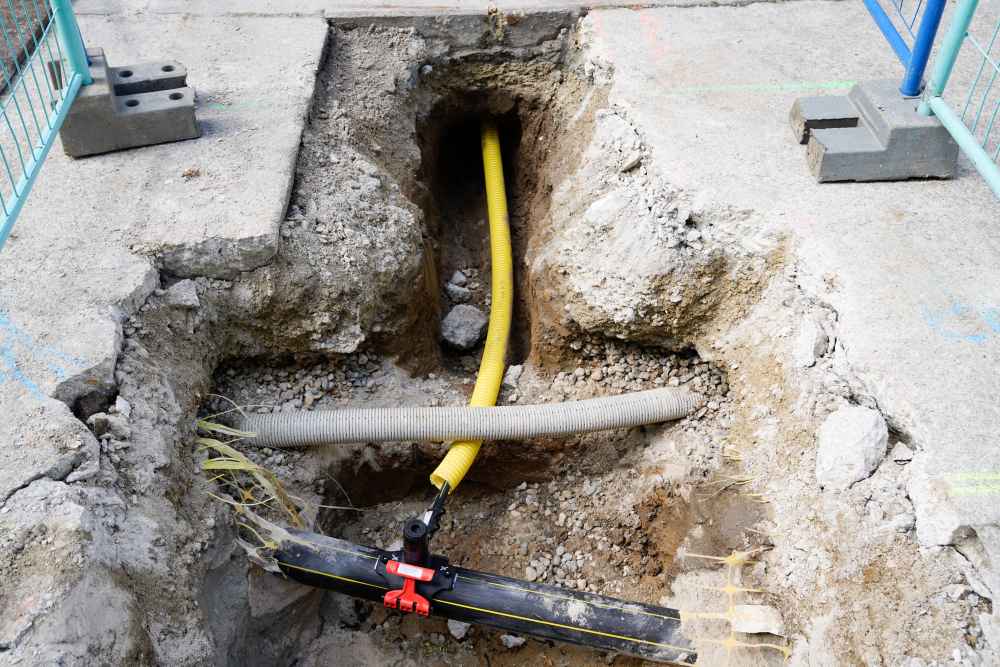
Step 3: Start digging the hole with a depth of 0.3m measured from where the pipe will go. If the drain is deep, the hole can be more significant at the top, but keep the bottom square. If you hit the water while excavating, it is not a suitable place for rainwater soakaway, and you must find another option.
Step 4: Prepare the pits for testing by filling them with water and leaving them for 24 hours. After 24 hours, if it absorbs all water, the shafts are ready for testing, and if there is still water present, the ground is not a viable option for a rainwater soakaway.
Step 5: Before starting the test, measure 25% and 75% of the pit depths using measuring tape and mark these measurements to be clearly visible.
Step 6: For testing, fill the pit with water and keep the stopwatch ready until the water reaches 75% mark. Then, note the time it takes for a shaft to absorb water until reaching the 25% mark. Now divide the time noted by 0.15m (depth between 25% and 75%) to get the average time (Vp) water takes to fall 0.001m (1mm).
The test should be performed at least three times with two pits. Then, the average time of all tests should be taken into consideration.
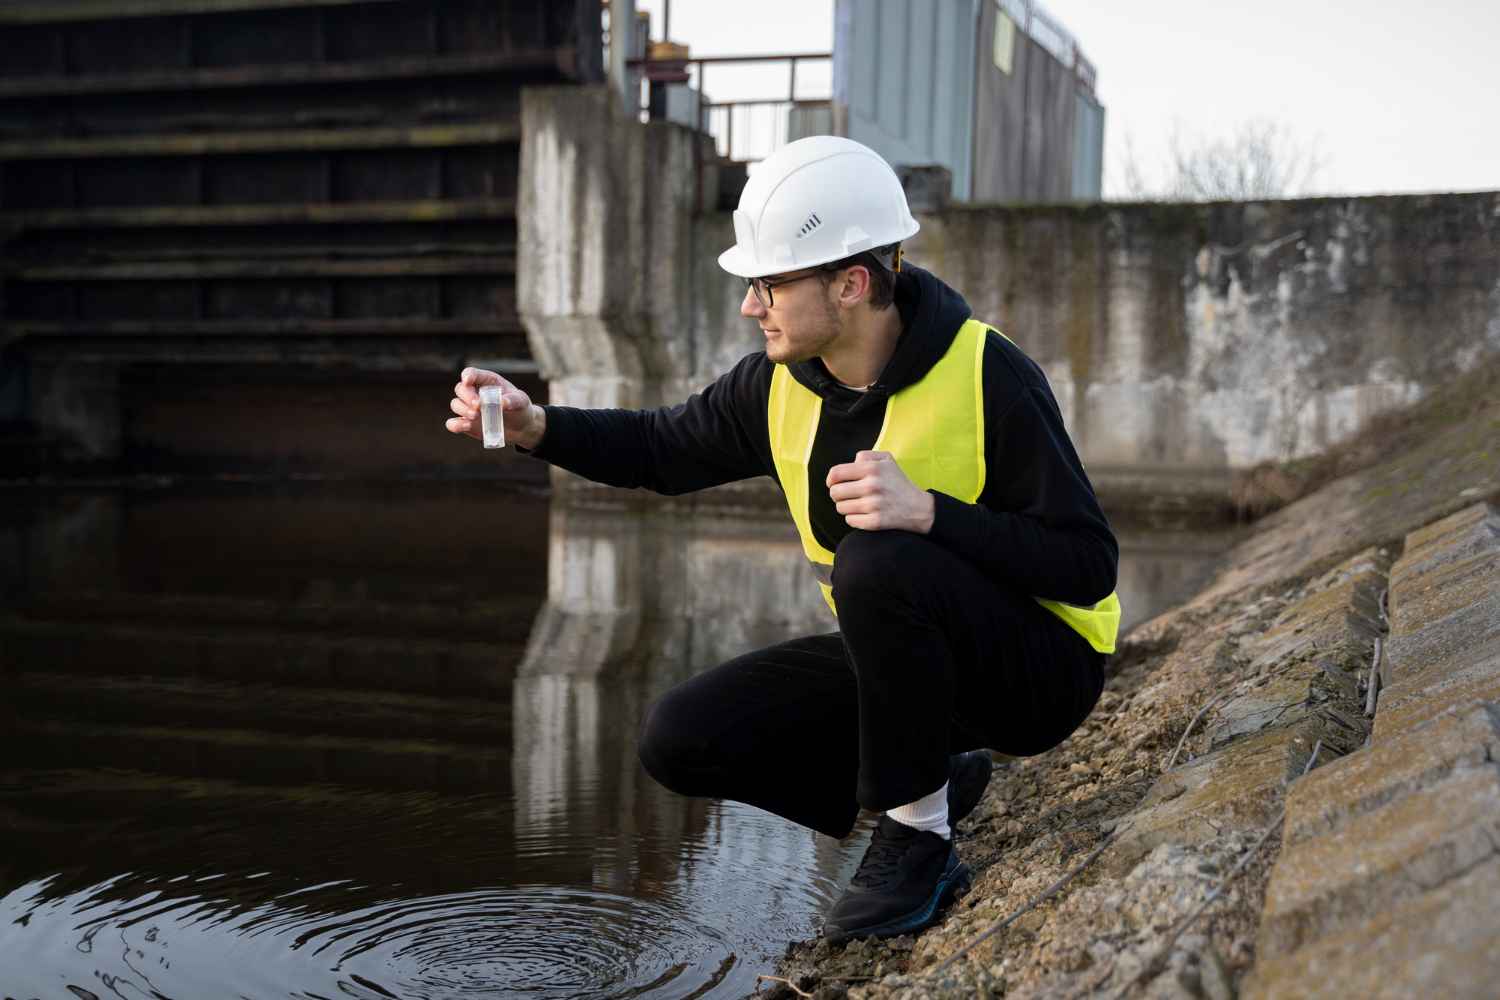
Soakaway can help you and the environment through a range of benefits, some of which are:



Areas we cover
Basingstoke | Southampton | Guildford | Bournemouth | Poole | Portsmouth | Crawley | Dorchester | Peterborough | Newbury | Christchurch | Gillingham | Swindon | Winchester | Reading | Oxford | Slough | Abbotswood | Sterte | Ascot | Stoughton | Broadstone.